List of Materials:
(1) Arcade Cabinet Kit: the kit includes many of the core components needed for the arcade including the cabinet, joysticks/buttons, plexi glass, in addition a graphical wrap and a marquis. The finished product will look similar to the picture below:
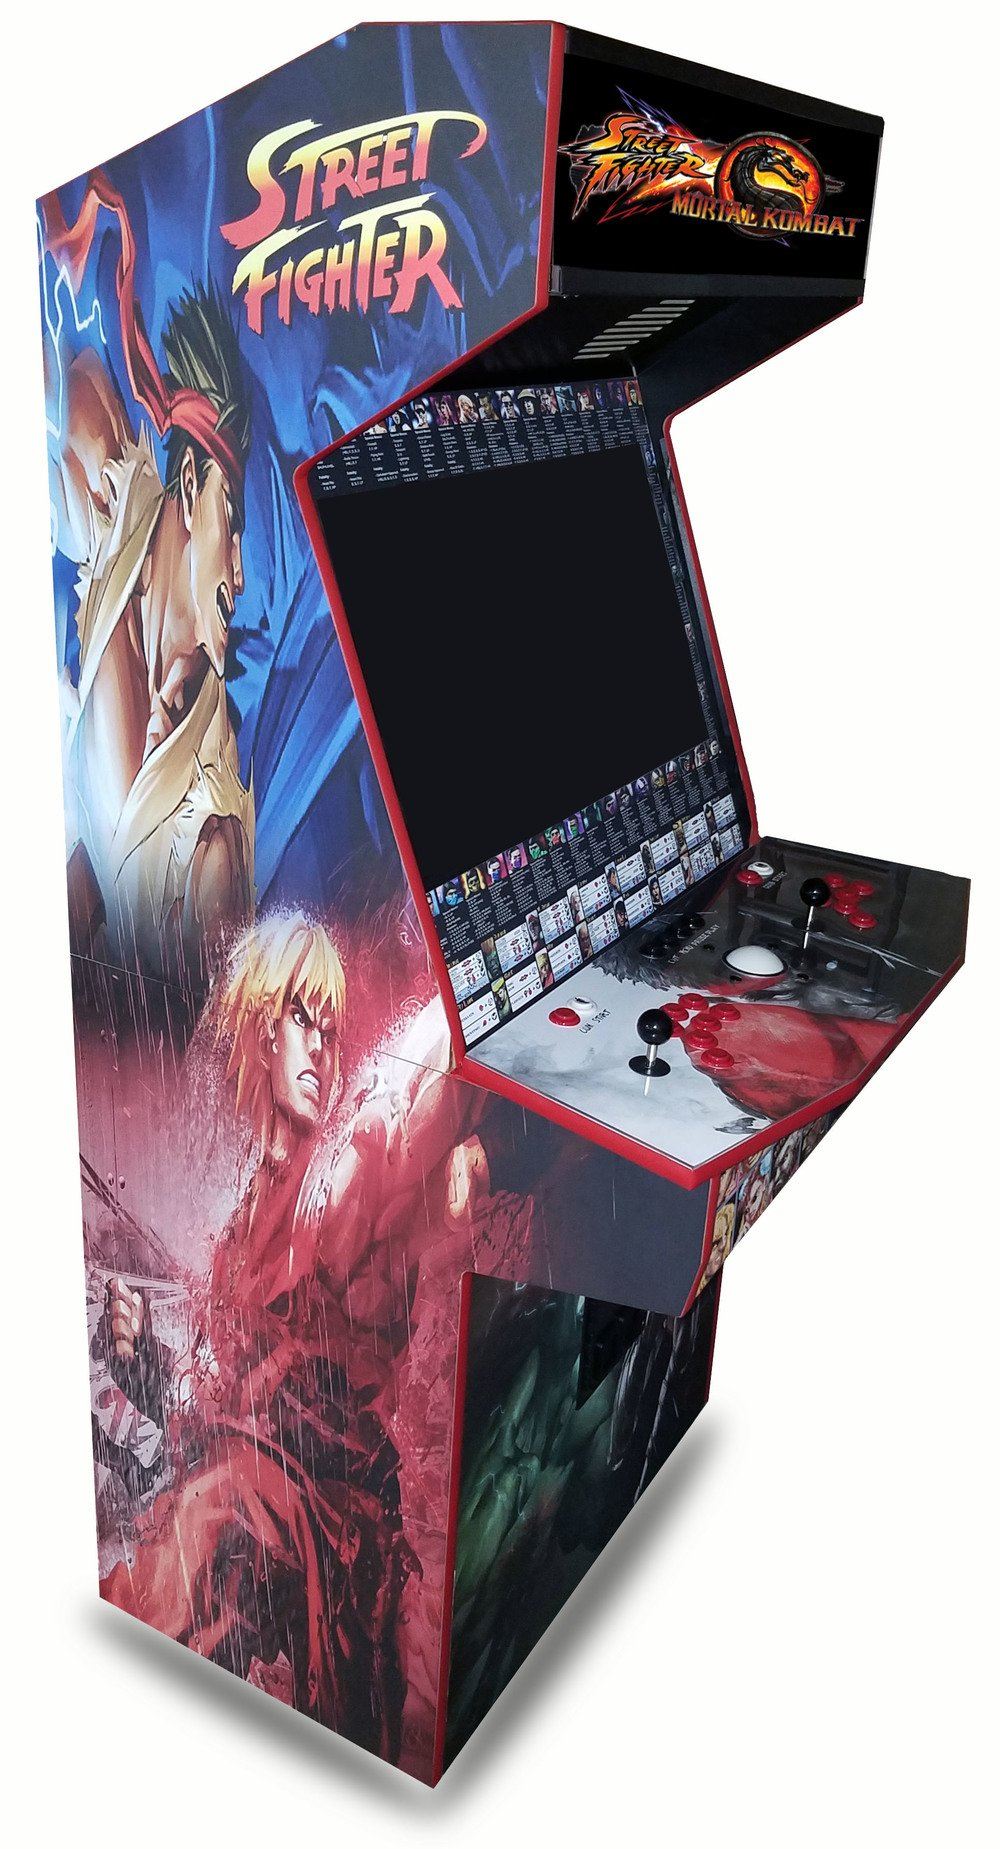
Rather than the street fighter graphics, I opted for the Nintendo themed wrap below:
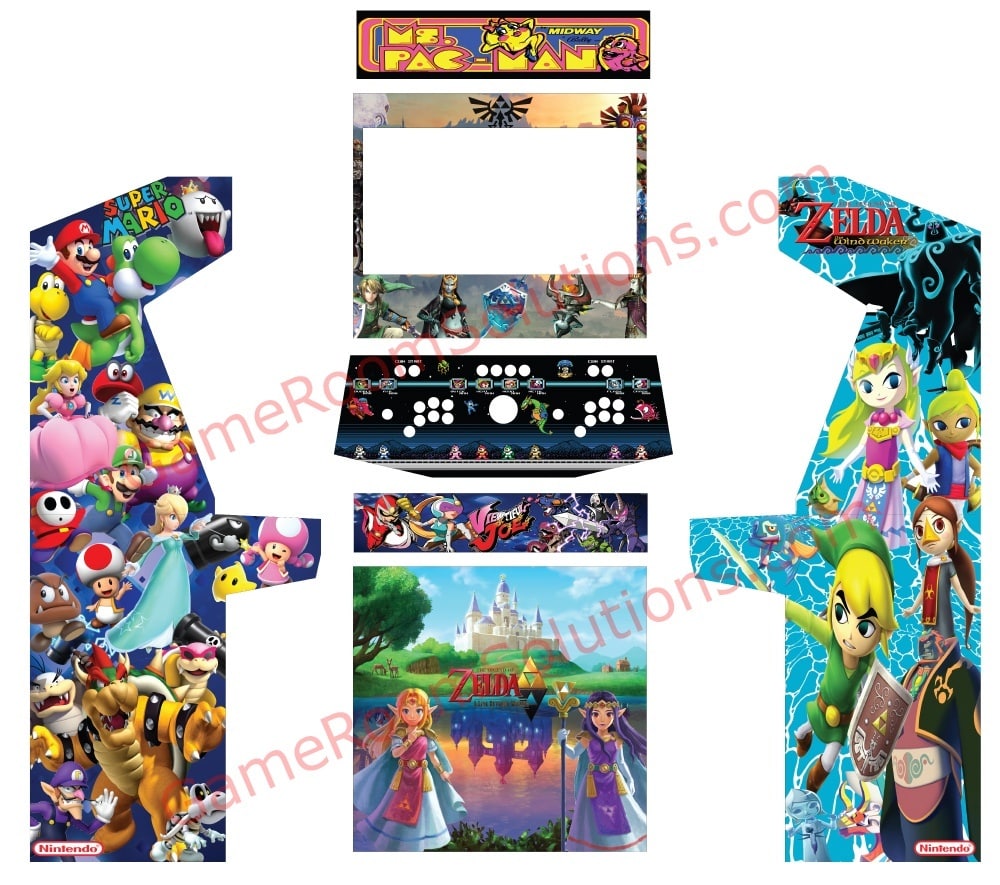
The kit was purchased from Game Room Solutions.
(2) Raspberry Pi 3 Model B+: Released in early 2018, this model will be more than powerful enough to power the arcade. The 'computer' fits in the palm of your hand. It's hard to believe it will run thousands of games across all different types of consoles including MAME, NES, SNES, Atari, etc. I purchased a basic starter kit from amazon. Do yourself a favor and buy a different power supply than what is included in this kit. The power is inadequate to run the pi reliably. I found this one to work well.
![V-Kits Raspberry Pi 3 Model B+ (Plus) Basic Starter Kit [LATEST MODEL 2018]](https://images-na.ssl-images-amazon.com/images/I/91fyzK3ddcL._SX679_.jpg)
(3) 6" Car Speakers: the top of the arcade cabinet has down-facing grates for 6" speakers. I ordered a pair of Rockford Fosgate's from amazon.

(4) Mini Audio Amplifier: Car speakers need a small amp to be powered. I went with the Lepai LP-2020A+ Tripath Class-T Mini Audio Amplifier, again from amazon.

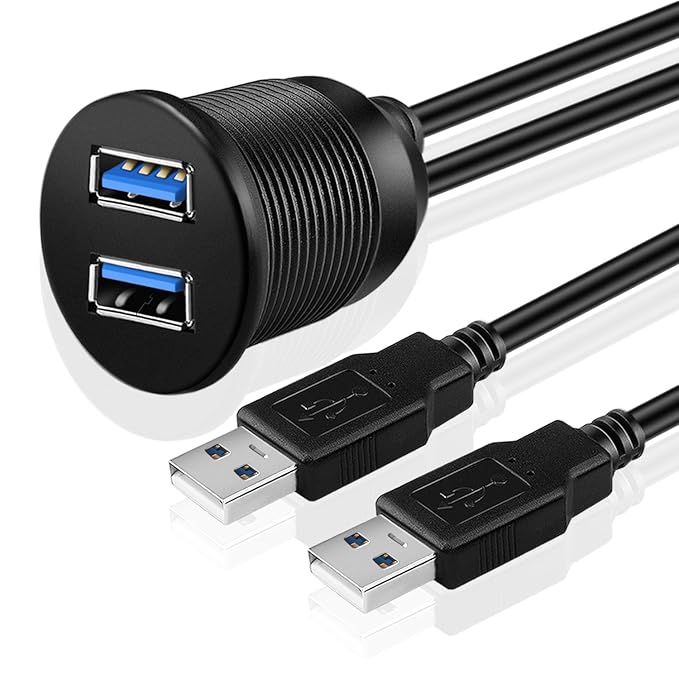
(5) USB 3.0 Flush Mount Cable: just in case I need to connect a keyboard/mouse after installation, I plan to put a flush mount USB cable in an easily accessible spot. These cables can be found anywhere, I bought this from amazon for convenience.
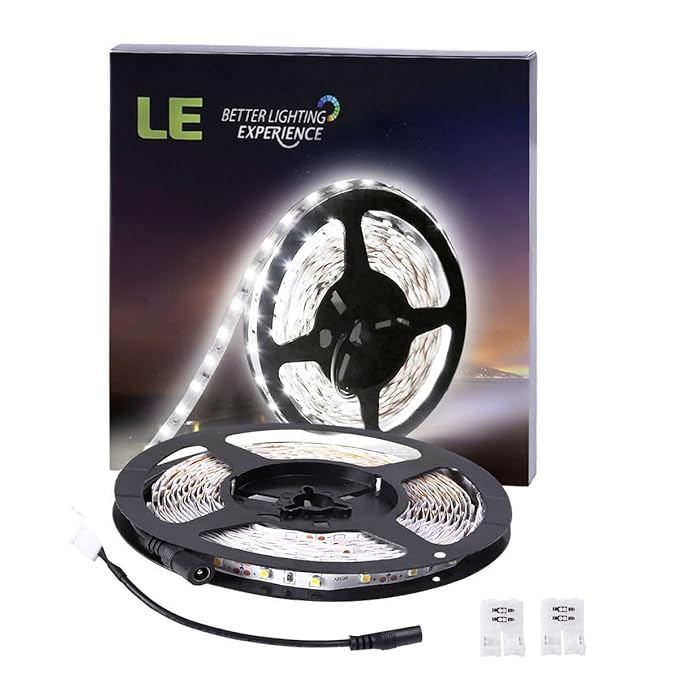
(6) LED Light Strip: needed some lights to go behind the marquis located at the top of the cabinet. Bought a cheap LED strip that should do the trick.
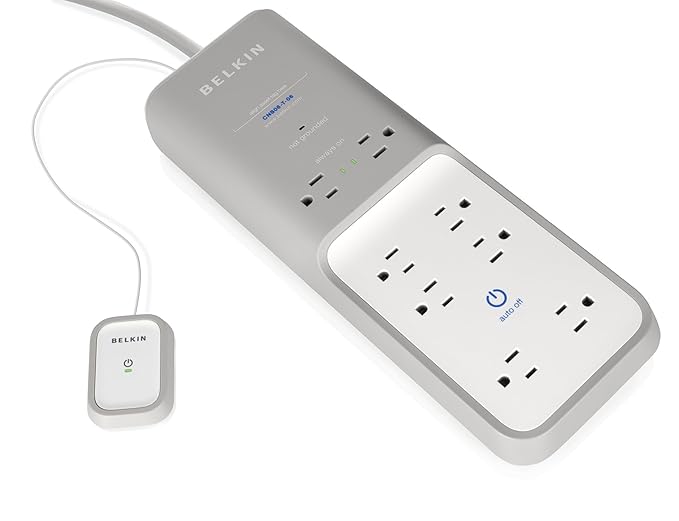
(7) Power Strip: a power strip will be needed inside the box to turn all of the components on/off. I'll want the raspberry pi to always be on, but the rest of the components, I'll want to turn off when not in use. This Belkin power strip met that criteria and I'll be able to wire the small on/off switch so that it's placed out of site on the back of the cabinet.
(8) TV: the cabinet supports up to a 32" television/monitor. Given how close users will be to the screen, I ordered a 32", 1080p Vizio TV (D32F-F1) from Sam's Club. It was the cheapest 32" option I could find that supported a 1080p resolution.

At this point I am waiting on the cabinet to arrive. I expect it in 1-2 weeks. I'll try to document the build process and post another blog entry once it is complete. Below is a pic of all of the aforementioned materials (TV is arriving tomorrow):

No comments:
Post a Comment